I got inspired to do this because I saw a really nice metal DIY unit on here and decided to try and do the same thing with wood.
It took me about 2 days, several trips to Lowes, and about $1000.00 to do this. I got almost all of the info I needed off of this board so I though i'd pay it forward and share my process for anyone who may be building one of these and struggling to find the info they need. This is my first exposure unit build so don't beat me up too bad if it isn't up to your standards or whatever. It works fine for me and my exposure times are down to about 50 seconds from my old unit which took more than 3 minutes.
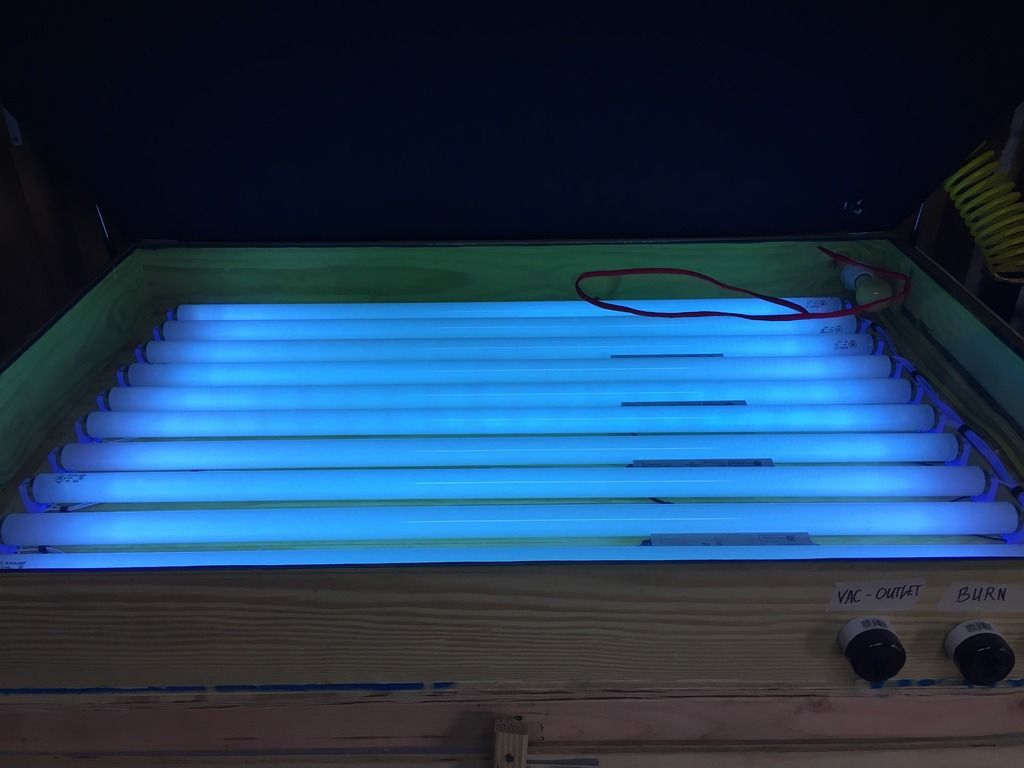
First, I decided what bulbs and how many I wanted to use: It will vary based on your unit size. I decided to make my unit large enough to burn 2 static frames at the same time and be compatible with larger auto frames. I went with 10x 4' T12's because they are cheap and so am I. I know, I know 10 seems like overkill but I wanted this baby to be powerful. I was worried about having too many bulbs and the light undercutting before I finished my build and tried it, but it works fine and I have not had any issues yet.
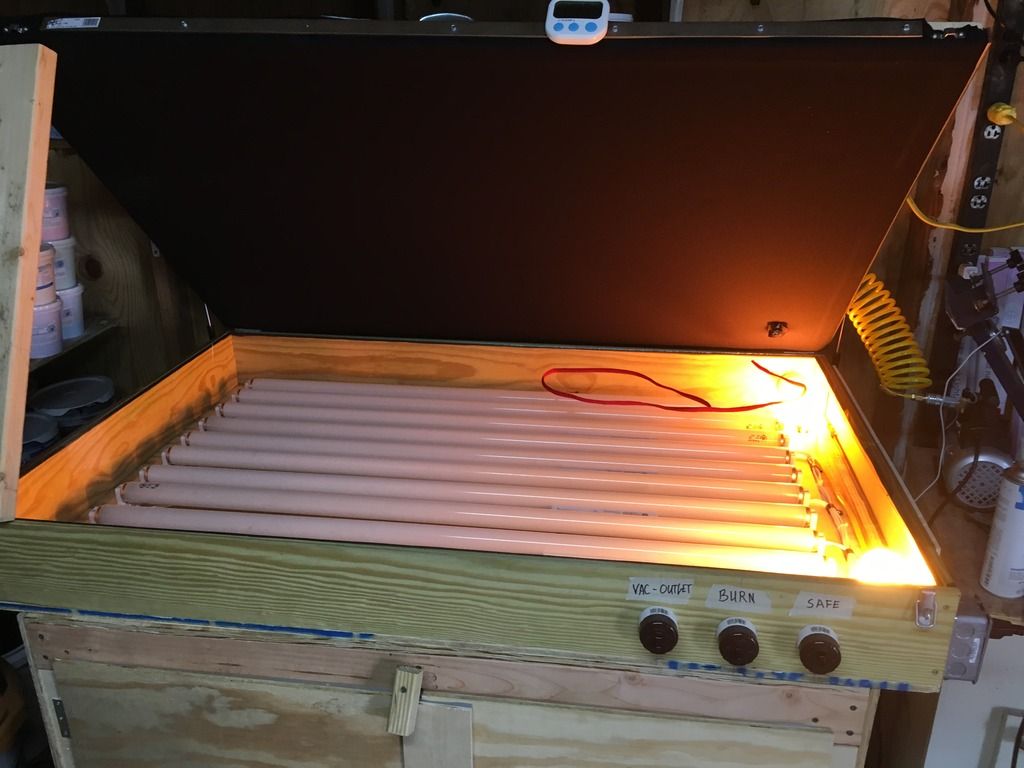
I found unfiltered blacklights on 1000bulbs.com for $4-5 each. They work great. I also splurged a bit here and bought a set of
Super Actinic bulbs because I read that they are the best, they run $15 a bulb though and are hard to acquire. I didn't initially install them because I wanted to first dial in the unit with blacklights. When I was testing my unit I did put a few in side by side on the blacklights and they were twice as bright so I would imagine my burn times would be 20-30 seconds with those. The super actinic are 400-420 on the light spectrum which is just in the top end of the tolerance zone for exposure. Or so I think, i'm not an expert.

My box ended up being 57" x 36".
Shopping List:3x 4'x8' full sheets 1/2" plywood whatever is cheapest, not particle - hardware store
6x 2x4"'s untreated - hardware store
4x 8' 1x6"'s - hardware store
13x 8' 2x2"'s (rounded edges) - hardware store
4x 8' 2x2"'s (square edged /for frame/ slightly larger) - hardware store
1x Sheet of 1/4" starphire glass (cut to fit/don't pre order/ do this last) - any local glass co.
1x full sheet of neoprene 2mm/ nylon backing both sides/ black - foamorder.com
1x 2.5cfm vacuum pump - harbor freight
1x air hose - harbor freight
1x quick release air fittings (full set) - harbor freight
2x large compatible washers (for hose through neoprene sandwich connection)
5x 4' T12 workshop fixtures (w/ plugs) - hardware store
10x 4' T12 unfiltered blacklight tubes - 1000bulbs.com
1x set of casters (wheels) for the rack / 2 stationary / 2 swiveling
12' Romex Wire / C.H.G. - White(common) / Black(hot) / Green(ground) (for inside wiring and power cord)
3x flush mount switches
1x standard plug-end for power cord
2x flush mount bulb fixtures (checking bulbs)
2x bug light bulbs (yellow) 60w
3x standard wire boxes (junctions) w/ wire fittings
1x bag winged wire nuts
1x bag of zip ties
3x bags wire screw downs (various sizes - to clean up wiring)
4x inside corner braces (for frame)
4x topside corner braces (for frame)
2x 4' flat steel rods (for neoprene hold down)
2x 3' flat steel rods (for neoprene sandwich hold down)
20’/each of weather striping 3/8” & 1/2” flat stick on type
Magnetic kitchen countdown timer/sticks to edges/cheap -
toggle clamps for lid
hinges 3x for lid 6x for doors and side door
various wood screws from small to large
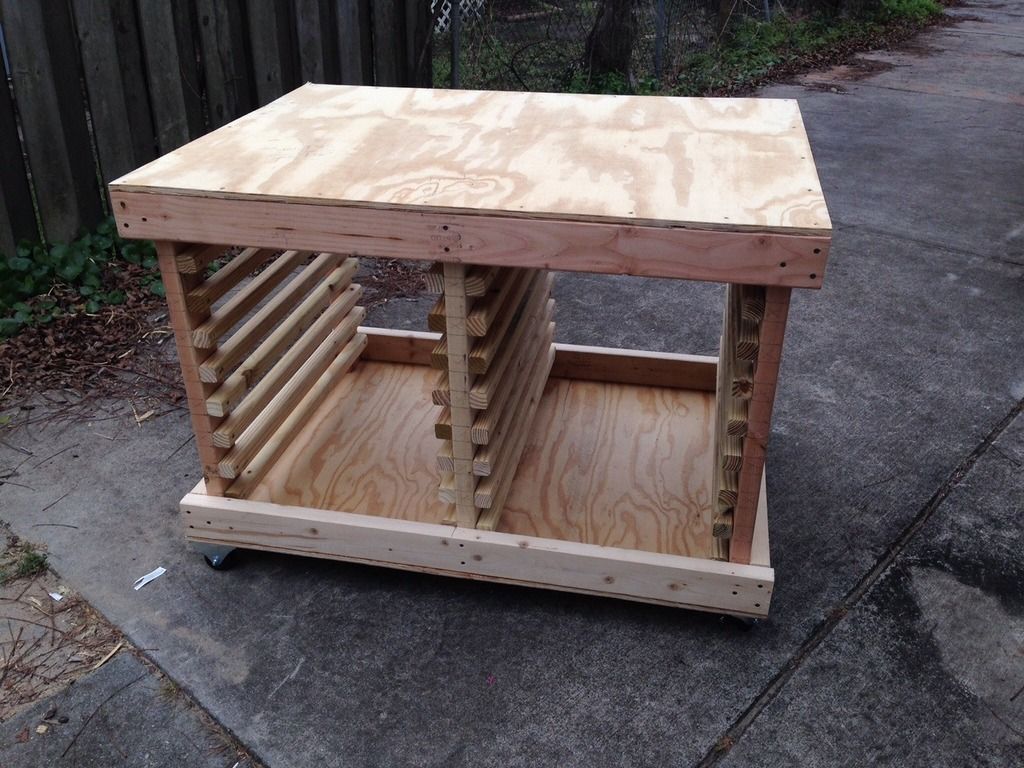
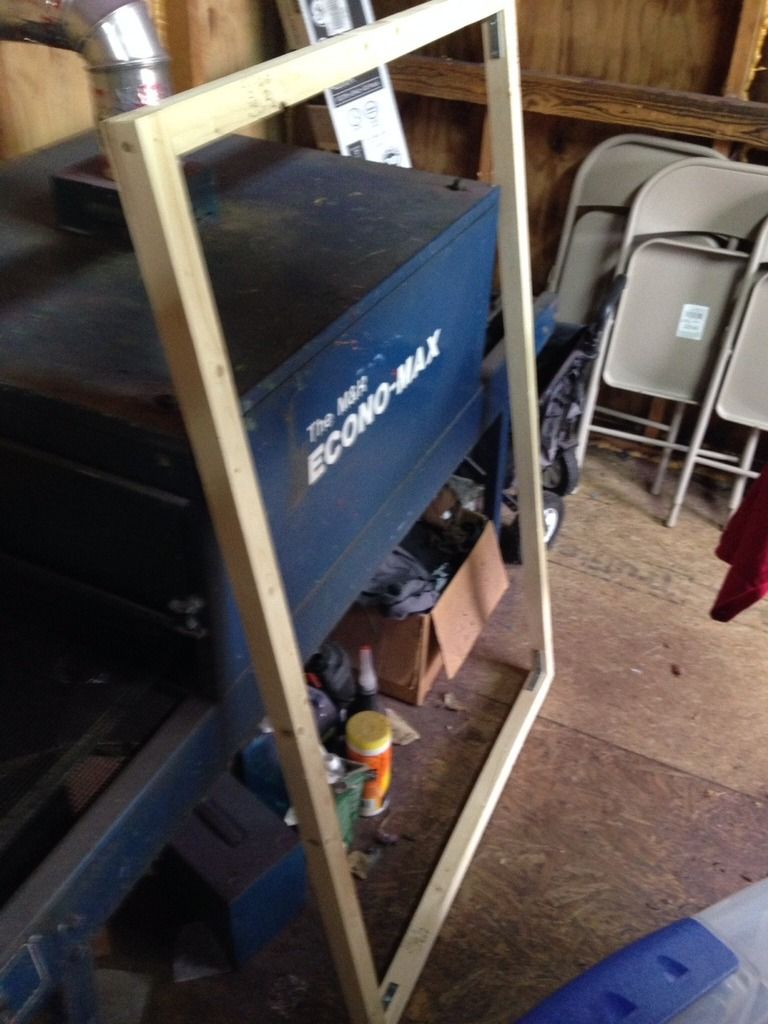
The Build: RACK - I started by building a screen rack that holds 18 - 20x24 static frames. It is a really simple build so I won't go too deep into this, if you are building an exposure unit I assume you have at least some basic knowledge of carpentry.
The outside dimensions of the rack are 4' wide x 3' deep, and I think 31” tall. Slightly smaller than the exposure unit. Did this to save wood because of the 4’ sheet size and make measurements easier. It just so happens to fit the screens perfectly. Remember 2”x4”s are not actually 2” more like 1.5”.
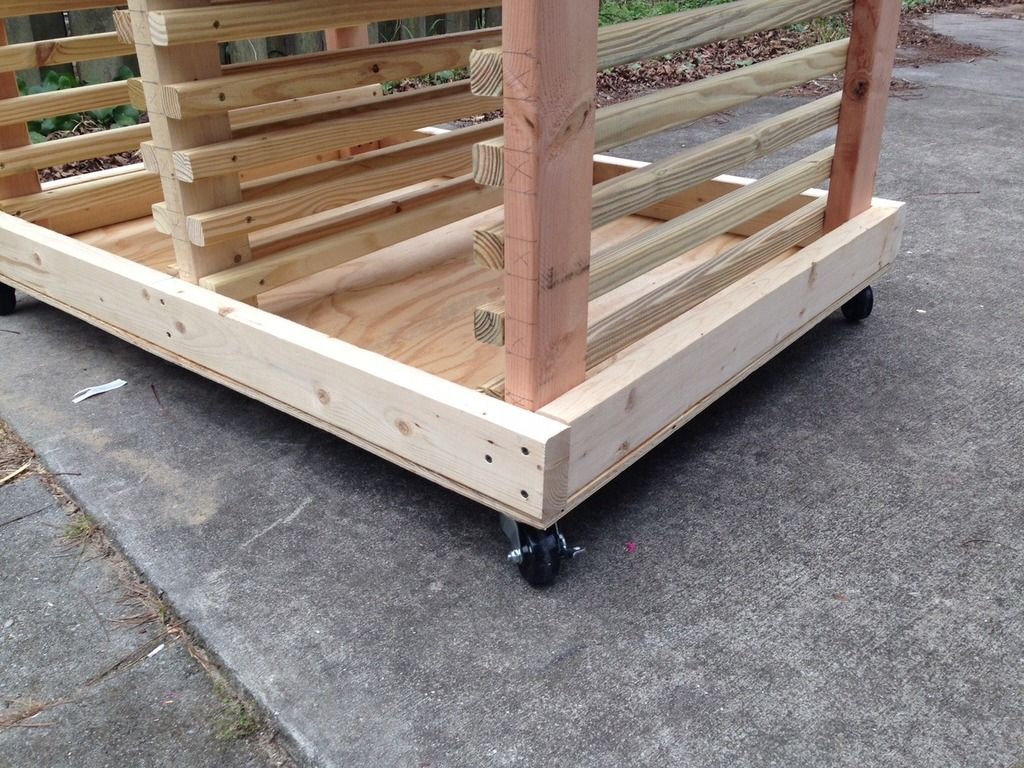
Measure the screens you use and make your rack match them. It may be different. Give your screens a little room for play when sliding them in and out. Make sure to attach those casters at the end. This thing will be heavy. The swiveling casters should be on one end and the statics on the other.
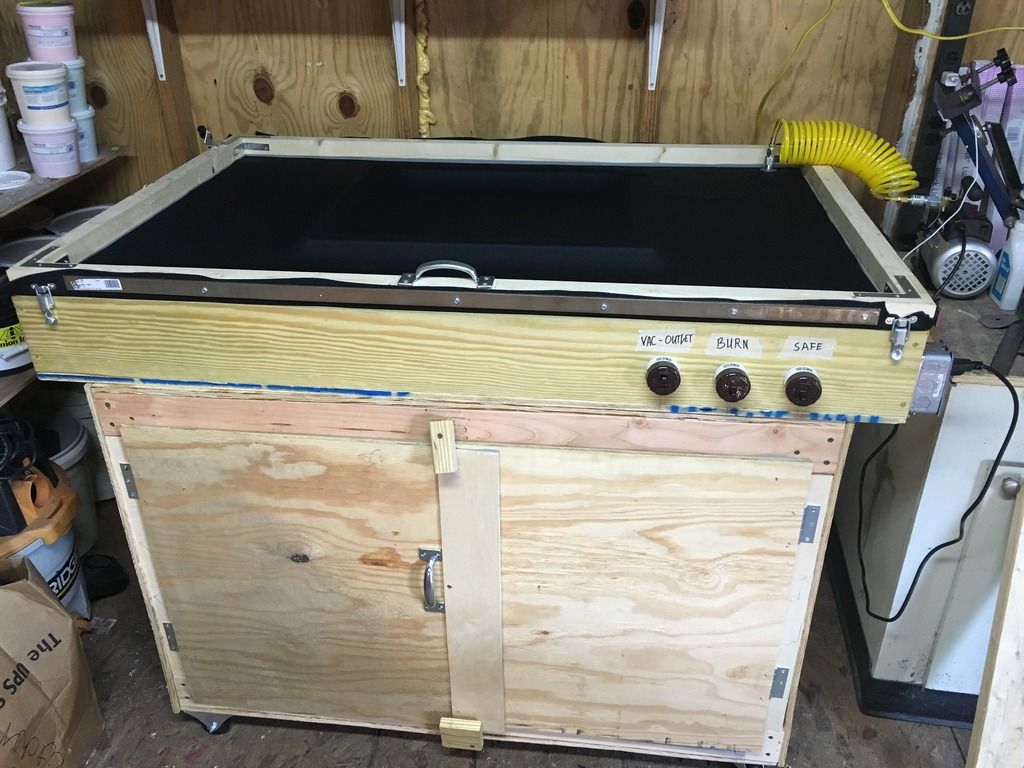
I closed my screen rack off in the end with some plywood and 2x2”s on the front face for the doors to attach to. I ended up buying a T8 fixture and hanging it in between the expo unit and my washout. I also got some non uv yellow bulb covers from ryonet and can now convert that part of my shop into a darkroom on a moments notice as long as the other lights are out and doors are shut. It works really well for me.
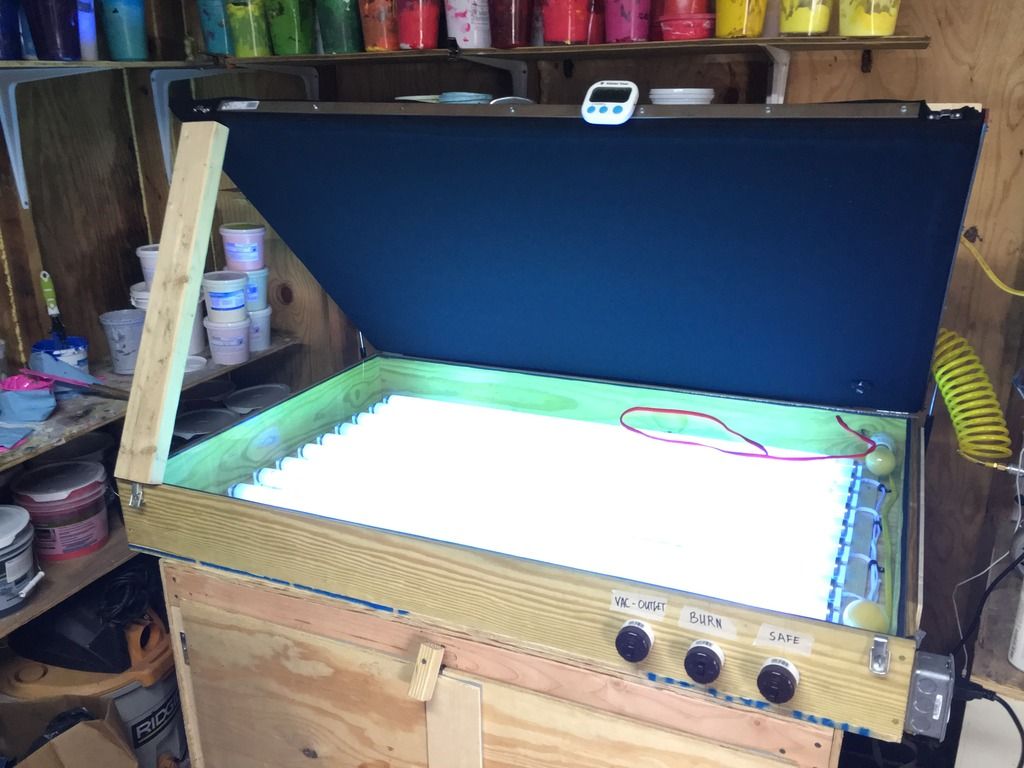
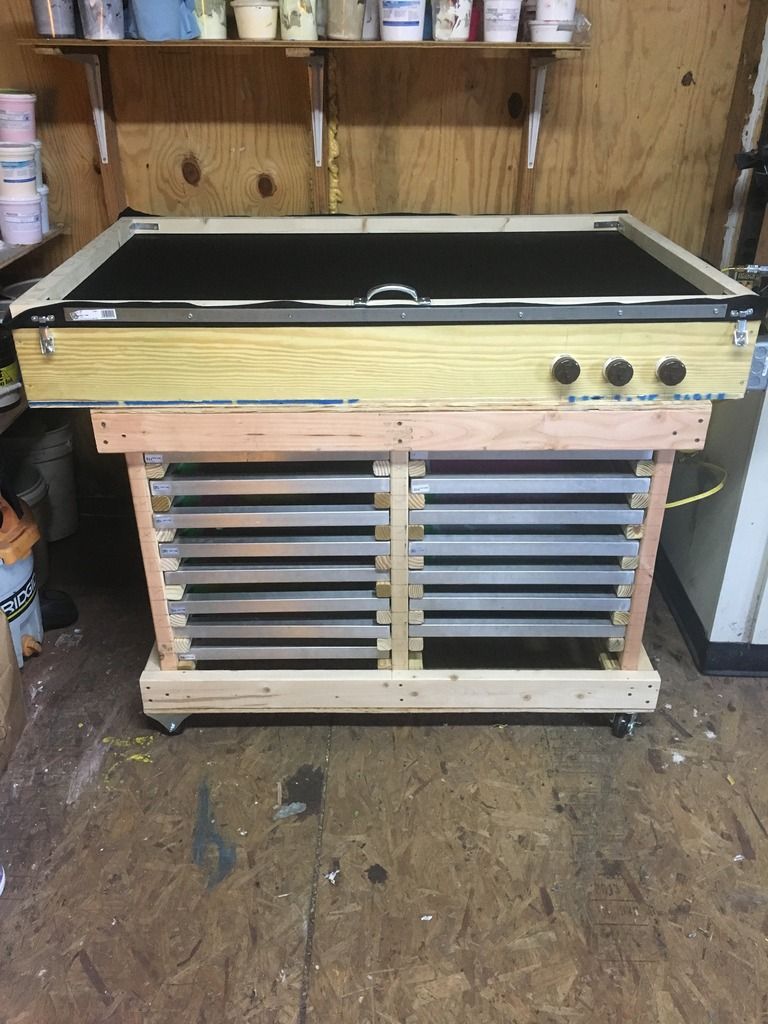
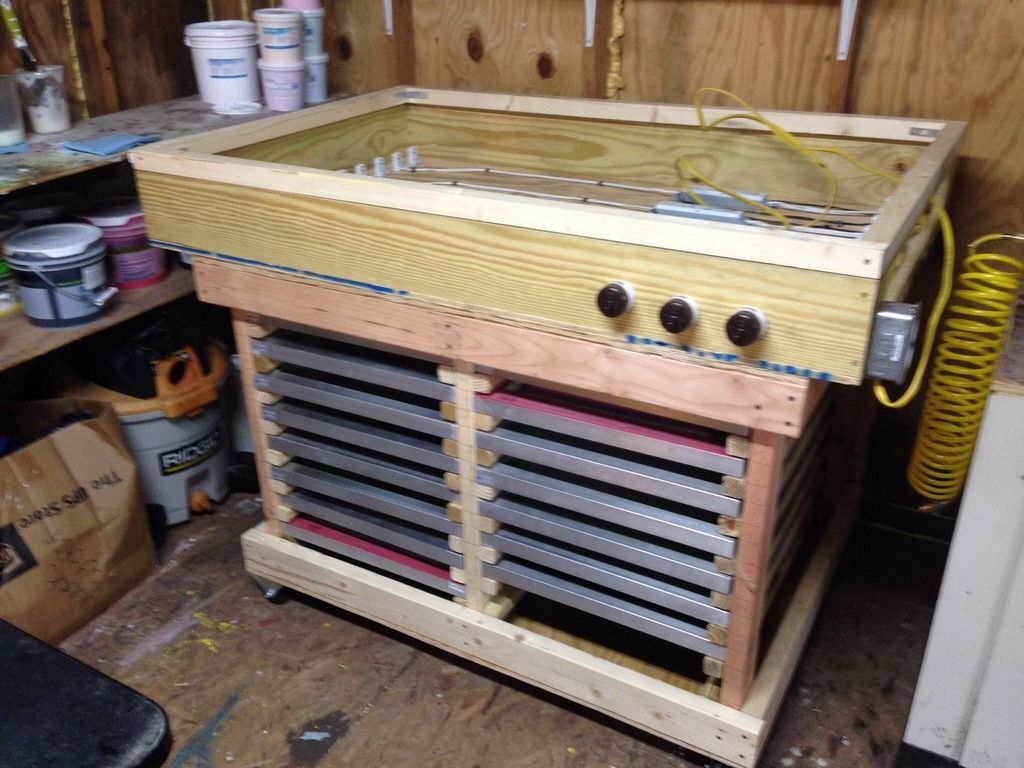
 EXPOSURE UNIT
 Cut the bottom plywood to 57” x 36” MAKE SURE ITS SQUARE! Use a finishing blade for all of this!
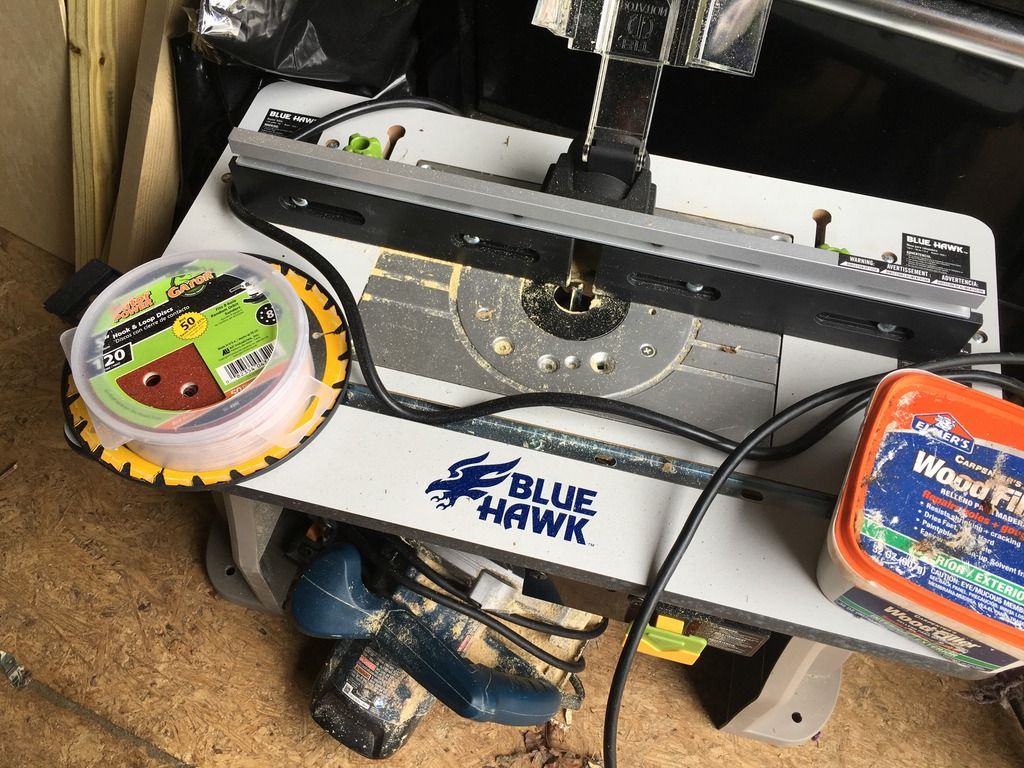
- Route the 1”x6”s with a 3/8” router bit and routing table. I routed the sides of the box to let the glass set in instead of floating it on top. In my mind this was the best/safest way to do it. If you don’t have a router, call your dad... or maybe a handy neighbor.
Do this in rips on a router table and not by hand, it would be ridiculous to do by hand and the glass wouldn’t fit right.
Then screw the front and back side pieces to the plywood from the bottom with screws that won’t go too far through and split the 1x6s. Measure the sides out and cut to fit. On one or both sides make a window with a jig saw (to replace bulbs). Leave enough up top to hold the weight of the glass and lid but also give yourself enough room to change the bulbs. Screw everything together up top and flip over and do the bottom, MAKE SURE ITS SQUARE & FLUSH.
- Add your window doors with some hinges at the bottom and some toggles to close them on the sides. I bought a cheap 2’ x 4’ piece of 1/4” hobby wood at the hardware store. I cut my window doors about 1/2” larger than the window all the way around and put 3/8” window stripping around the outside edges to prevent light leaks and stop dust from getting in the unit.
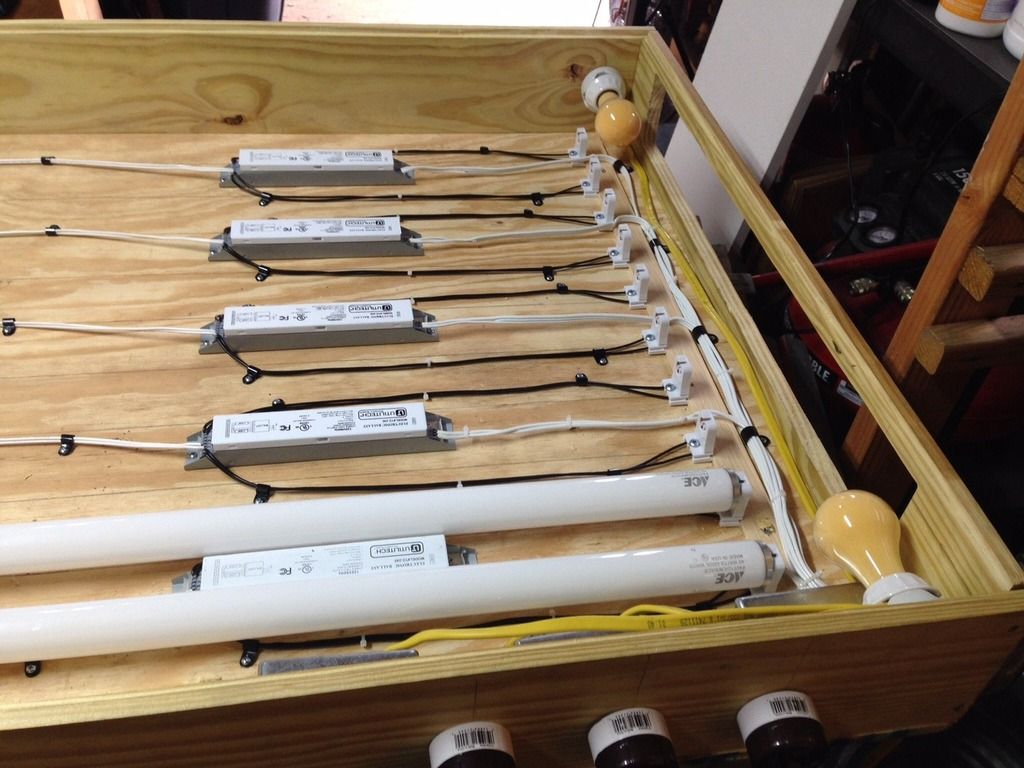
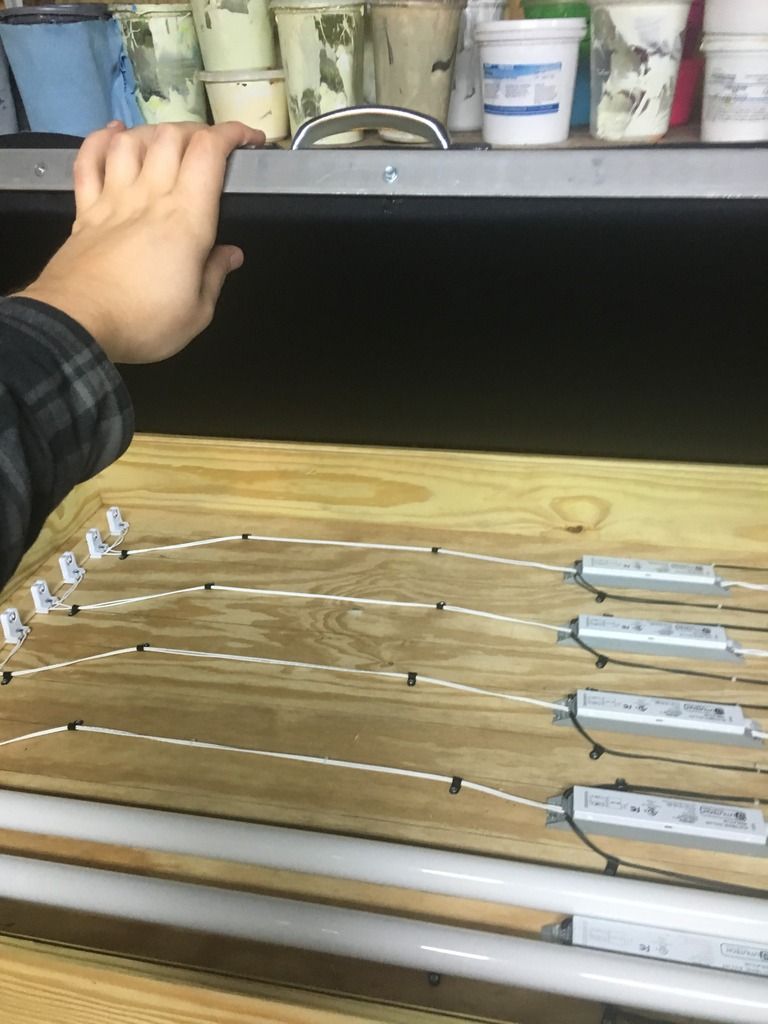
Take your light fixtures out and disassemble them leaving only the bulb connections(sockets), ballast, and power cords. Cut the power cords off at the end (leave as much wire as possible).
Measure from front to back and subtract 4” for wiring junctions and wires then divide that by the number of bulbs you plan to install (for equal spacing). It helps here to visualize by inserting 2 bulbs on the ballast ends and checking how far apart they are from one another, you may have to adjust your measurements to match your build. As long as you can wire it and the bulbs are evenly spaced you should be fine. MAKE SURE YOU LEAVE ROOM FOR THE BALLAST IN BETWEEN THE BULBS.
-Add a strip of wood to the inside of the box on each side to sit on the ballast ends (bulb sockets). This keeps the sockets from moving during bulb changes. It really helps to have a bulb in when doing this because it may not be exactly 4’.
-Once everything is measured and perfect Install the ballasts and sockets to the box with small screws. Check with a bulb to ensure they will fit properly at each socket. You may have to adjust them a bit for the right fit.
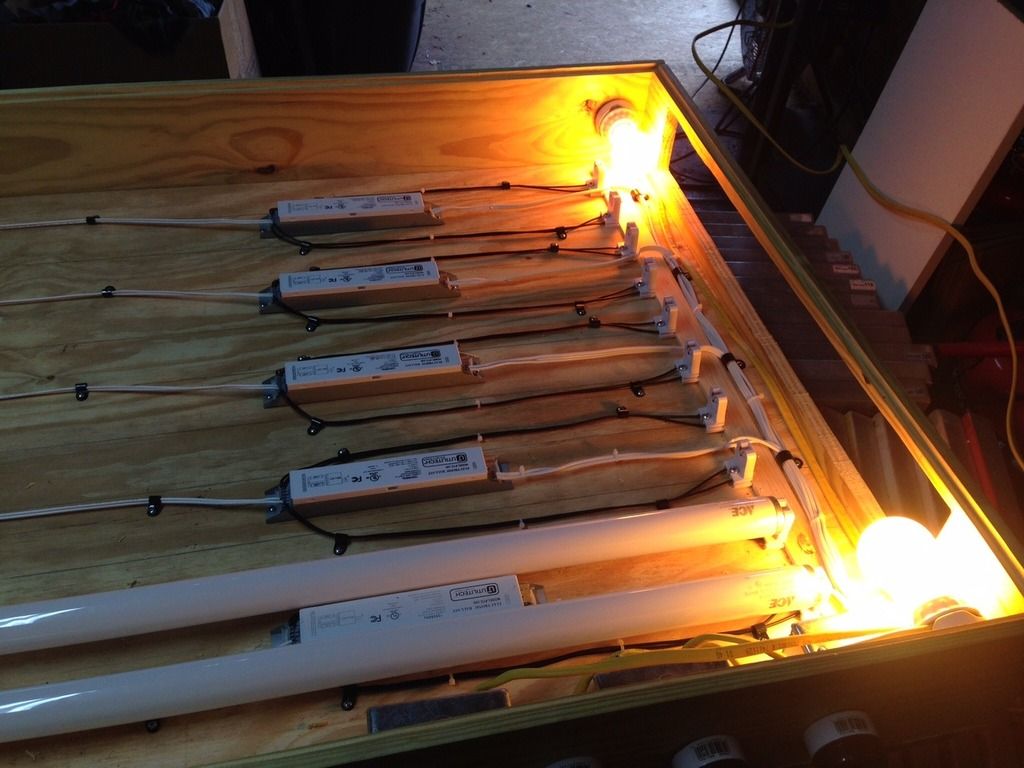
Install your switches and flush mount checking sockets where you want them. Make sure they are out of the way and you can easily switch bulbs when the glass is on. I only put one set in my unit but you could put in another on the other side if you want, just a little extra wiring.
-Here some people would buy an expensive gralab countdown timer or something like that and wire it in instead of a switch for the lights add $100 to your build, but my little $2 magnetic countdown timer works fine, I just flip the switch at the same time as hitting the button on the timer and shut the lights and vac off manually.
Wire everything up. If you don’t know how to do this, youtube should help, but a friend with knowledge is safer. Just remember to keep white to white (common) black to black (HOT) and ground everything. On my box I removed the ground wires from the fixtures and just grounded everything else, I don’t know if this is “code” but it worked for me. Use your wire nuts inside of the junction boxes to connect them all together. Make sure you install wire stays on the boxes where the wires come in to prevent anything from getting yanked out. I also chose to add an external power outlet to the side of my box for the vacuum instead of directly wiring it. This kept me from voiding the vacuum warrantee, makes moving the box easier, and adds an additional power outlet for say a dehumidifier. You can do this a bunch of different ways so plan out your build to suit your needs.
Once its all wired properly wire your plug end on to the romex power cord going out of the box, plug it in and test each socket/ballast set with 2 T12 bulb to ensure they all work. Remember 2 bulbs must be on each ballast to complete the circuit. Test everything else like switches as well before proceeding.
If everything works good and you’re happy use the zip ties and wire screw downs to clean everything up inside your box. Cut off the ends of the zip ties.
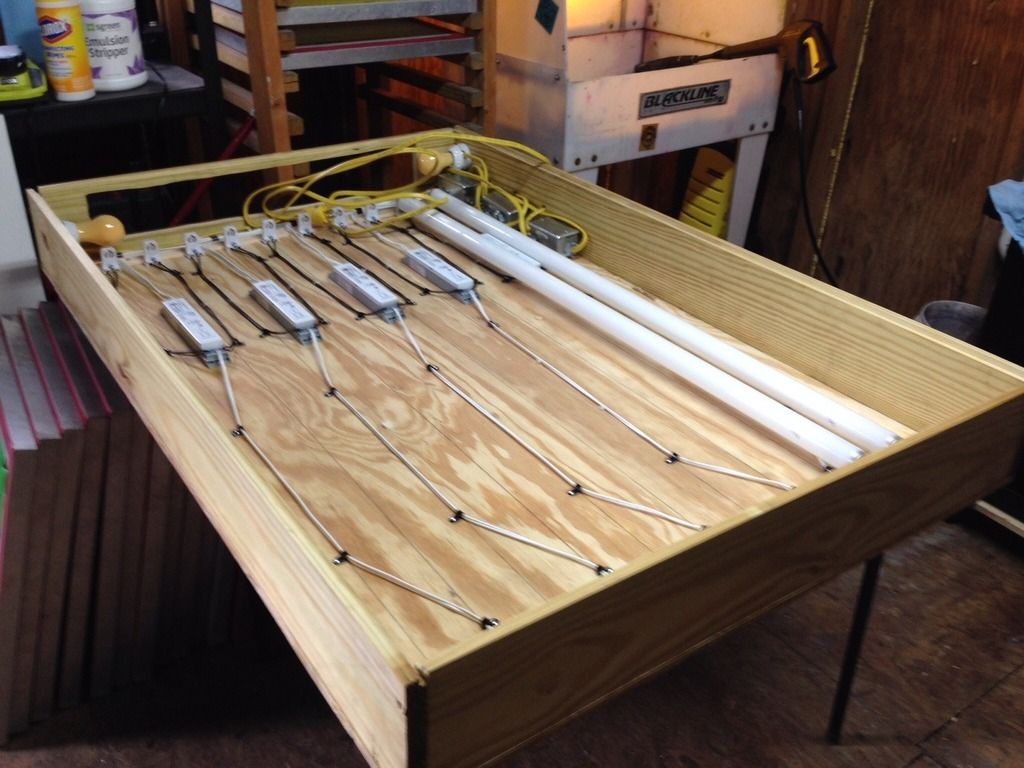
-Its also a good idea to break out a vacuum here and remove all the dust from the inside of the box, just get it nice and clean.
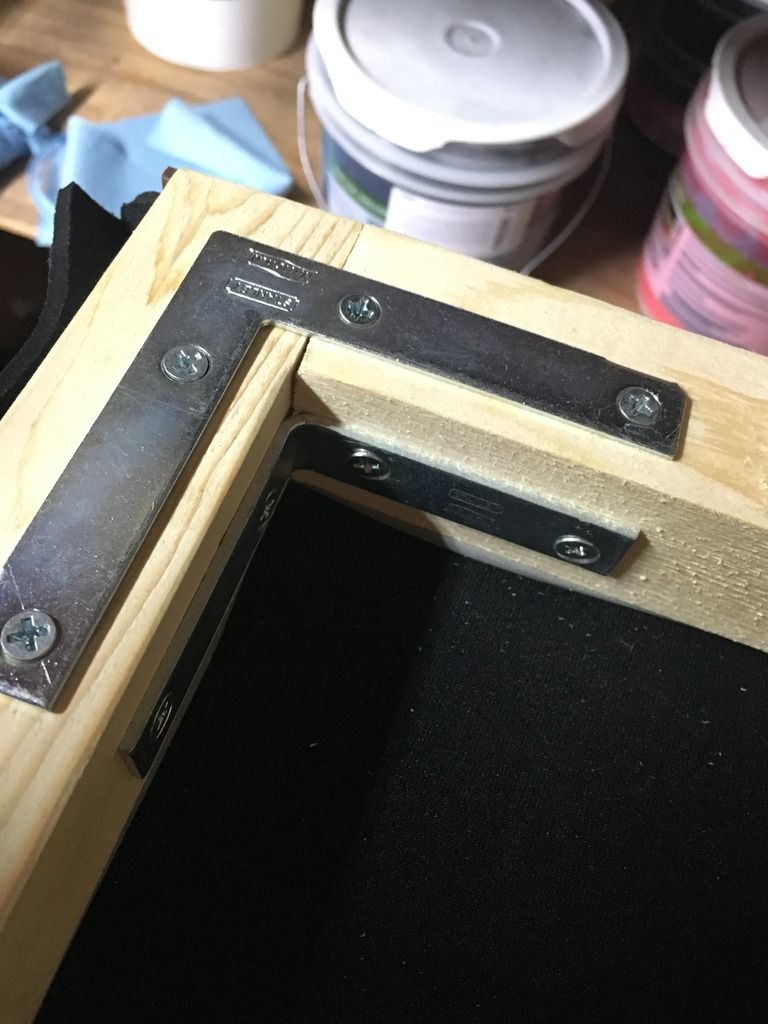
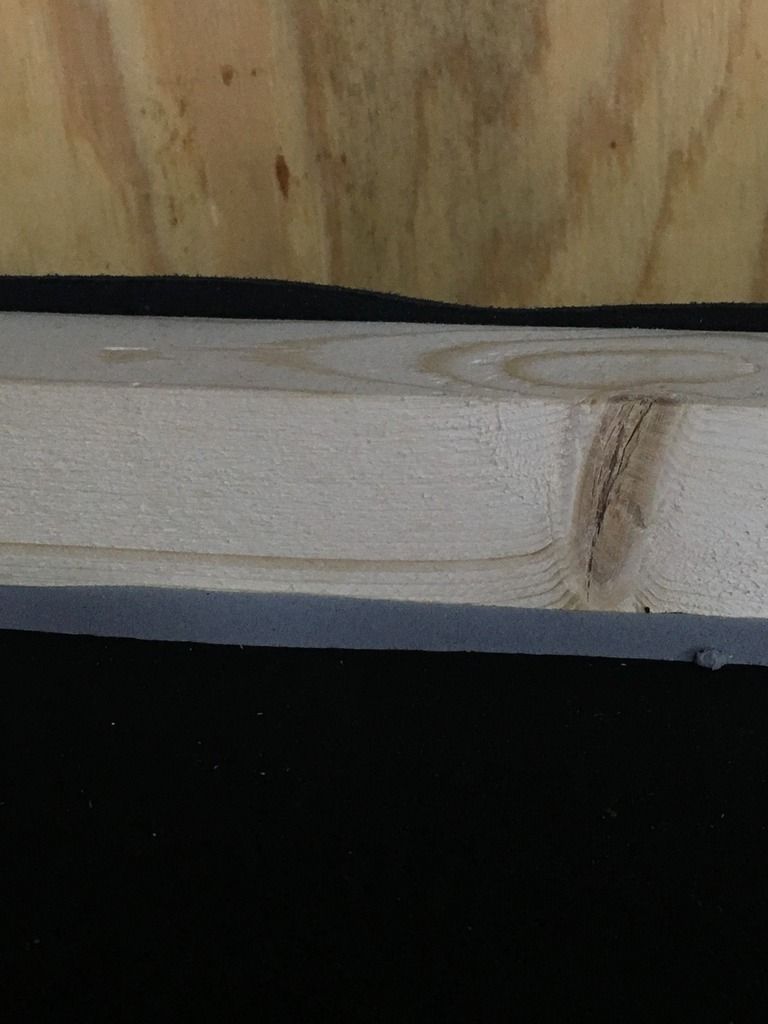
-Assemble the lid with the square 2x2”s to the exact outside dimensions of the box. When laid on top it should be a perfect fit, flush to the outside of the box. Add your inside and topside corner braces. At this point I decides to use my random orbit sander to hit the bottom and outside corners to smooth it out for the neoprene and hopefully prevent tearing. You also should try to make the corners flush to one another for an even seal on the glass. Make sure to clean thoroughly.
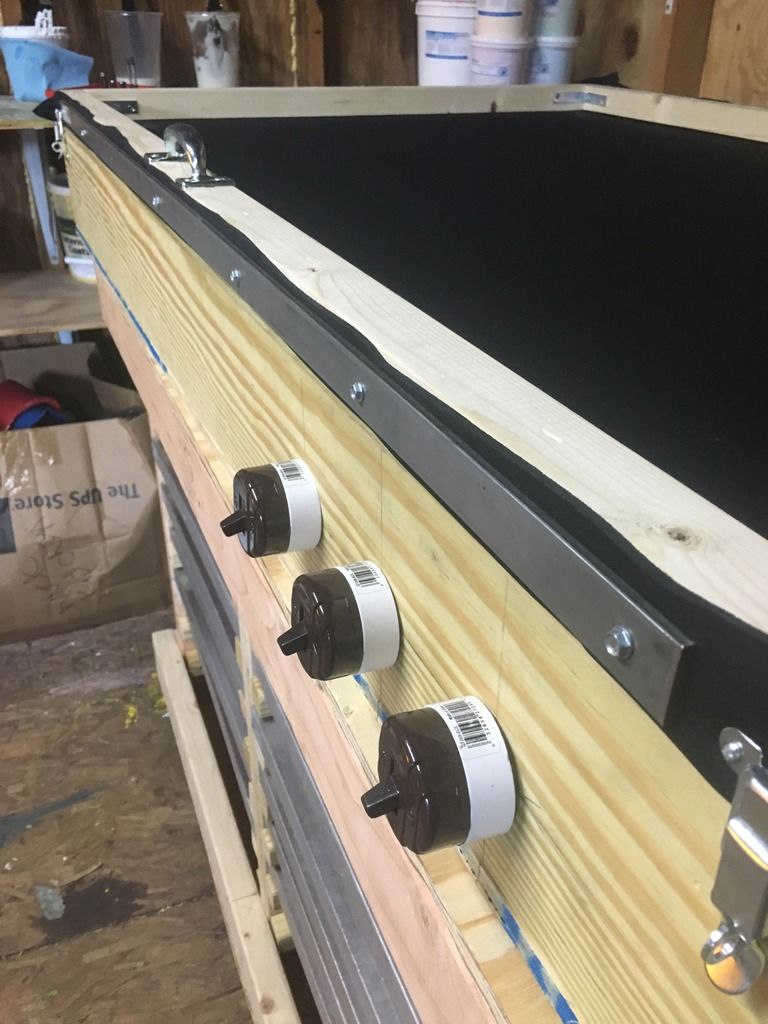
- Take your steel flat rods out and pre drill the holes for the screws evenly, you will probably break a few bits doing this unless you have a drill press. Clean off all metal shavings and file any rough edges.
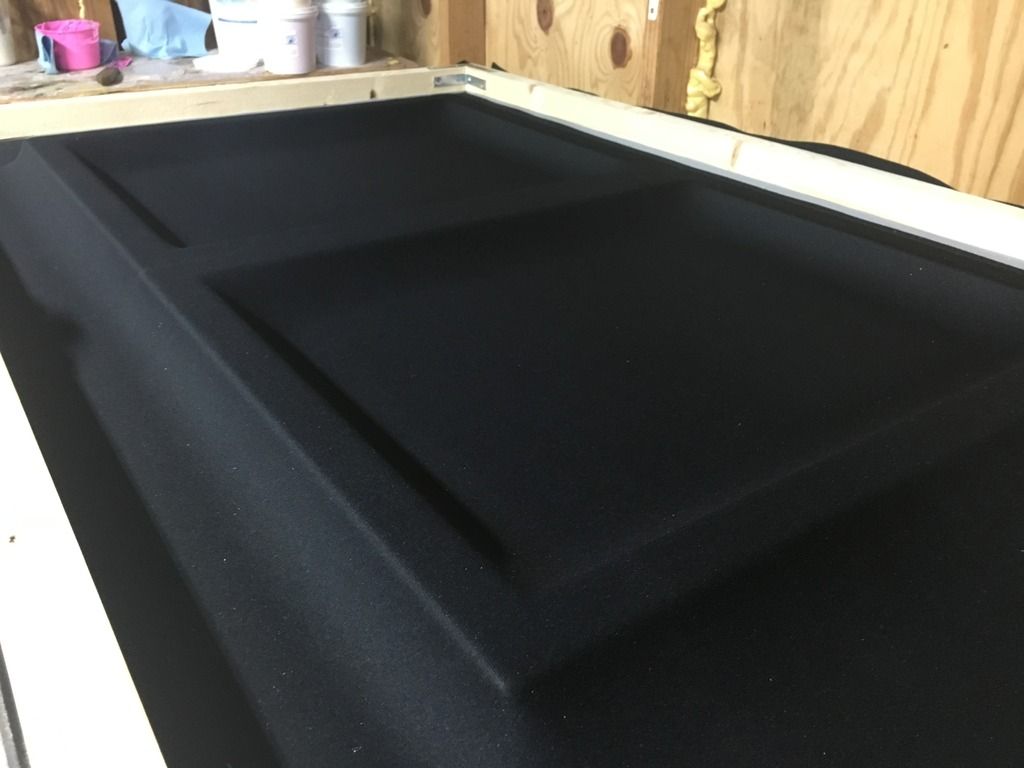
Lay your neoprene out flat on a large table or a clean floor and stretch it around the outside edges of your lid starting with the short ends first. Make sure the neoprene is even with the lid and attach the pre drilled metal steel flat rod on the short end of the lid sandwiching your first end. Stretch the neoprene around your other short end and clamp it, make it tight. Screw your steel flat rod to that end. Bring it to tension on the long ends (like a roller frame). You will need several clamps to do this right. I have tons of them so this wasn’t an issue for me but you may need to go buy some or borrow them from a friend. I stretched mine pretty tight but I also kept in mind that the frame has to go in there between it and the glass so I left a small amount of slack. There are no wrinkles in my lid. Install the last two flat steel rods to completely sandwich the neoprene. Leave enough room on the backside for the hinges. I chose this method because I am a realist and know my neoprene is going to rip some day. I was also able to stretch my “full sheet” of neoprene with enough left over for a replacement sheet in the event something happens.
Once stretched add a 1/2” weatherstrip to the bottom between the lid and neoprene on the innermost edge of the lid all the way around. Make sure everything has a complete seal and there is not room for leakage. THIS IS CRUCIAL FOR THE VACUUM PROCESS TO WORK WELL.
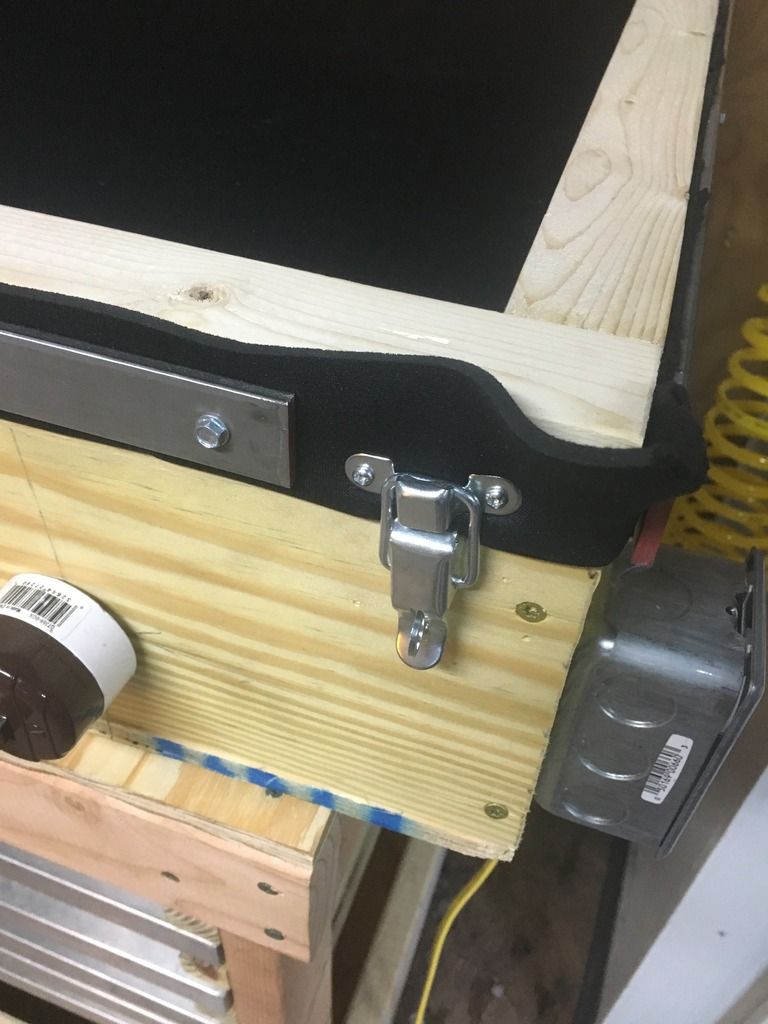
-Attach the lid to the box with a few hinges on the backside. It should be flush on the backside. Your weather seal should sink down into the box a bit, this is good. You want it to sandwich the glass very tightly when closed creating a strong seal. I also added a little handle to my lid for ease of opening.
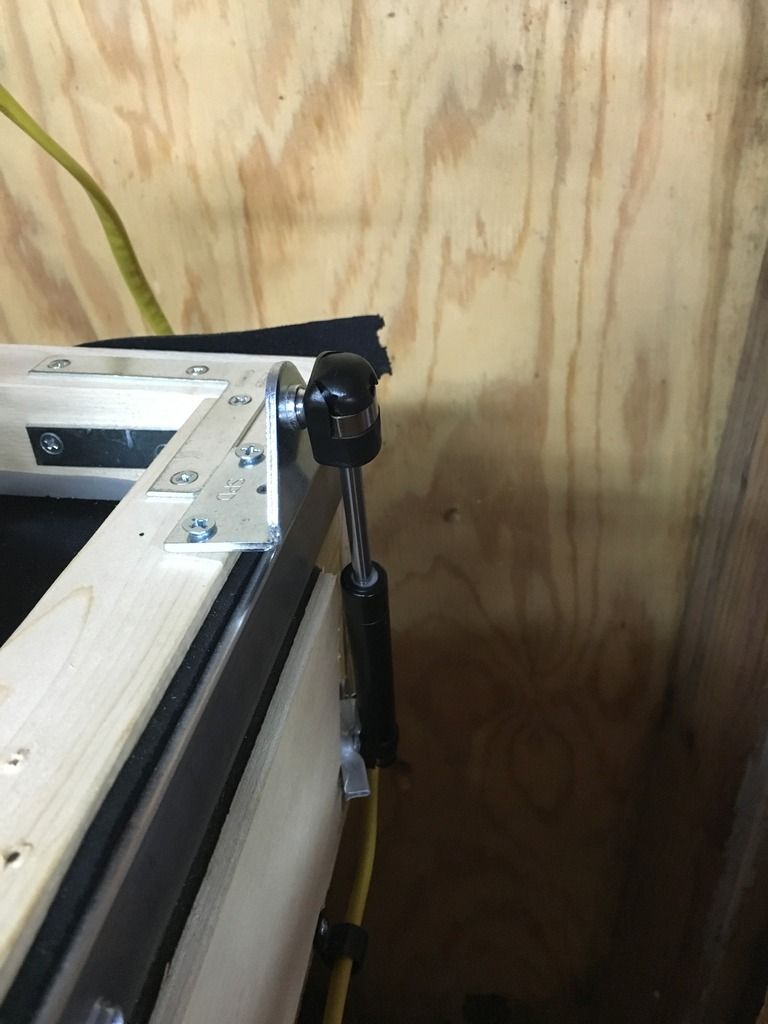
-At this point you may want to add some lid stays or gas shocks to the lid to hold it up as it will be heavy. Or you can prop it with something, your call.
-Also add your toggle clamps to the front side and test to see if it clamps tightly.
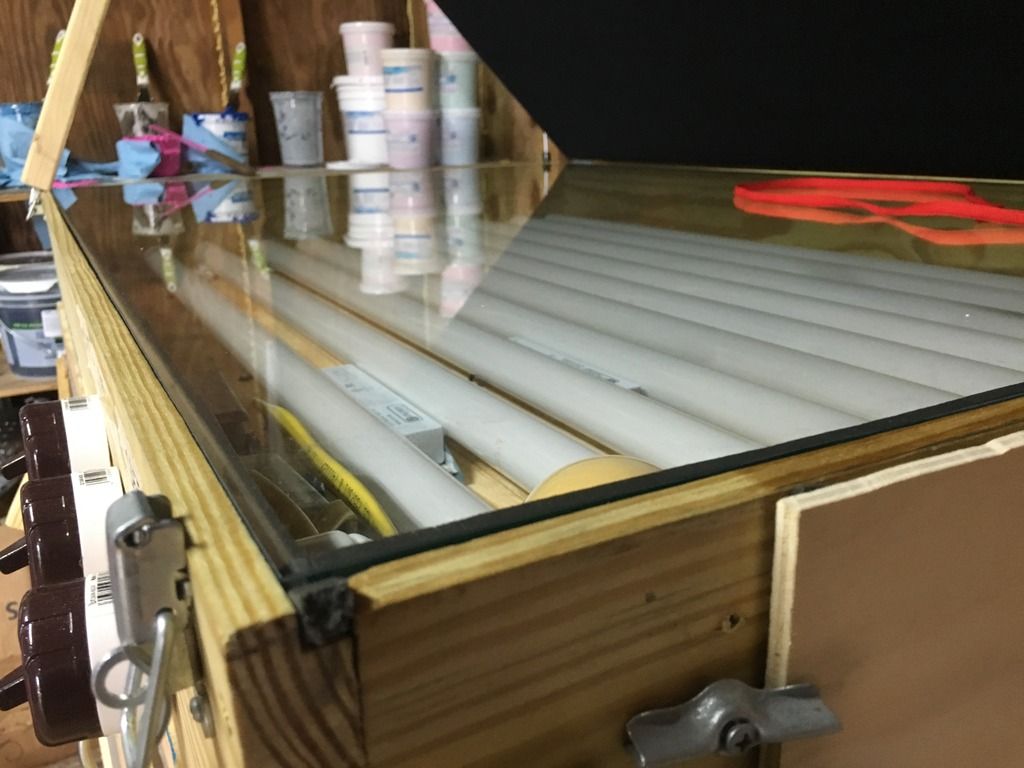
- Measure the inside dimensions of your box from the routed edges leaving 1/16” all the way around for play and order your 1/4” starphire glass! DONT GET CHEAP AND BUY SODA GASS (green edge). IT WILL SCREW YOUR EXPOSURE TIMES AND BOTTLENECK YOUR NEW EXPOSURE UNIT. Starphire is a much, much, clearer glass and is stronger than soda glass. It lets more light pass through! Any local glass company should be able to get this cut and to you within a few hours if they are any good. My glass turned out to be a whole inch measurement for a perfect fit, which was surprising because that never ever happens on these DIY projects, too many variables.
-Add your 3/8” weather stripping to the routed edges for your glass to lay on. Or if you skipped that step add some sort of padding to the edges that wont interfere with the lid closing.
-Install your glass, get a friend to help! This is the most expensive piece of the whole build. There is no warranty on it, and if you break it, your are out a lot of money.
On the back corner where your vacuum pump will be stationed poke a VERY SMALL hole in the neoprene with a razor blade at about 3” x 3” inside the lid. I just eyeballed this part but do it however you want. Now comes the fun part, take your air hose and install a quick connect receiver to the end that attaches to the lid. Use allthread to eliminate air leaks in the connection. Now grab a male end quick connect and put a washer on it (wrench grooves should stop washer from falling off about 1/2 way, if it doesn’t you need different washers) and feed it up through the hole from the glass side, put another washer on the outside of the male end when through, creating a sandwich. Now connect your male end to your air hose quick connect. This should be pretty hard to do but it works, and it is the least messy way to attach your hose. And if you replace your neoprene in the future you won’t have to buy anything else. Now on the male end that touches the glass you need to wrap something padded around around it and ziptie it tightly to prevent the hose inlet from hitting or scratching the glass when you close the lid. I just took a piece of scrap neoprene and used it. I, then, cut a hole in the scrap on the inside edge of the male end to allow the air to transfer. It’s ghetto but works like a champ. Lay a shoe string with the ends cut/burned off from the valve to the inside of the frame to create an air passage.

YOU SHOULD BE FINISHED!!! Test everything and get to burning.